How do you actually create AI art?
A Walkthrough of Using Midjourney, a Popular AI Art Creation App
If you read art-related news, you have no doubt read something about “generative AI” or “AI art” in the last six months. Everyone from The New York Times to MIT News has weighed in. It is a controversial topic, to say the least.
But how does AI art creation actually work in practice? While most of these articles talk about the implications of AI art, few seem to explain the experience of creating it.
As such, I thought it would be helpful to walk through the process of actually using an AI art generator, for anyone that hasn’t already done so. While these tools are powerful, using them is still a bit confusing to figure out for the uninitiated.
Which AI Art Tools Should You Use?
As of September 2023, there are hundreds of tools that you can use to create AI art. That said, most of them are still beta projects and/or don’t work particularly well, so you can safely skip them for the time being.
When it comes to the cutting edge, however, there are really only a few tools worth exploring:
Midjourney is, as far as I can tell, the single best AI art creator on the market. In my experience, it creates the highest-quality images and is the easiest to use. However, it is run by a private company on private servers, which means there are restrictions on the types of images you can create.
Stable Diffusion is another highly-ranked tool that puts far less restrictions on the user. However, you need to install it directly on your computer, which makes using it considerably more difficult.
I have been using Midjourney for a few months now, so I’ll be using it for this walkthrough. I also think it’s the easiest one to set up (barring the low-quality free online ones) so I recommend it for anyone looking to explore AI art further. However, note that it’s not free and you’ll need to fork over $10 a month for the basic plan.
Getting Started with Midjourney
If you go to Midjourney’s website, you might be a little confused. A giant ASCII animation covers the top half of the page and the text description is rather vague:
Midjourney is an independent research lab exploring new mediums of thought and expanding the imaginative powers of the human species.
There is no sign up button, only a “Join the Beta” link. If you click on that, you’ll be redirected to a site called Discord. Don’t worry – this is supposed to happen.
What is Discord?
Discord is a chat program that is extremely popular in the video gaming community. Increasingly, it’s also being used by companies as a channel for providing support, and in a few cases (like Midjourney’s) as a direct interface for external applications.
That’s right: you interact with Midjourney entirely within a separate chat program. There is no unique “Midjourney app” or website that you use to generate the art. While this might seem strange, it actually works very well once you get the hang of it – although the initial set up is very clunky.
Note that this also means you’ll be creating two accounts here: one for Discord and one for Midjourney. These are two separate organizations that have no relation to each other.
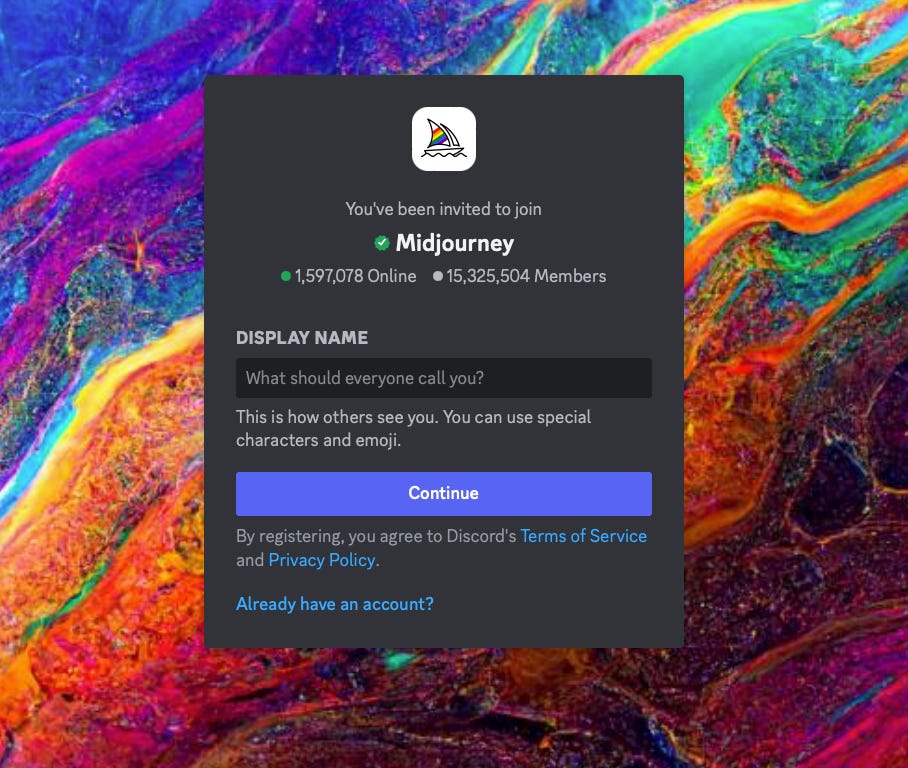
Once you add a Discord display name, solve a captcha, and enter your birth date, you’ll end up on a busy chat screen. You’ll now want to open a new tab and go back to Midjourney.com. Click Sign In in the top right and link your new Discord account to Midjourney.
As I noted above, Midjourney isn’t free and you’ll need to pay $10 a month for the cheapest plan.
Once you’ve got that set up, open Discord again. They also have desktop and iPhone apps, which I recommend using instead of the browser.
Take note of a few things here:
Discord is a chat program. It is made up of Servers, which are run by a specific individual or group (like Midjourney). Servers have Channels, indicated by the pound sign, #likethis.
Servers are listed in the top left, inside a circle. Channels are listed on the left hand side of the chat window.
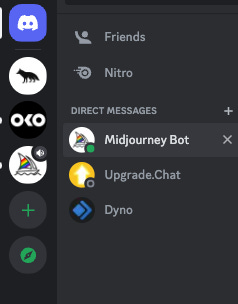
You can also send Direct Messages, which are only between you and another person (which includes the Midjourney bot)
The image below shows the public channels on the Midjourney server. As you can tell by the names, each channel is for a different subject: support, billing help, off-topic discussion, and so forth.
But where do we create images? In the “Newcomer Rooms” channels, you can create images that everyone else will see, too. Usually, there will be new images created rapidly here.
However, I don’t recommend using this public channel. It’s much easier to just Direct Message the Midjourney bot.
To access this, click on the blue smiley face in the top left, and then on the Midjourney icon that appears to the bottom-right of it.
How the Creation Process Works
So, how do you actually create an image? There are basically 3 steps, with a few sub-steps:
Type your image “prompt” into the chat box and press enter. This prompt can be a single word or a long string of adjectives.
Wait 20-60 seconds for the image to be generated.
You’ll then receive 4 images, arranged in a square. You can view and save this image as a PNG file, or…
You can choose to redo the prompt and get different results, or…
You can create “variations” of one of the four images, or…
You can “upscale” an image, which makes it larger and more detailed. You can then save it as a PNG file.
That’s pretty much it. Of course, there are many other settings, but that’s basically how it works.
Let’s walk through each of these steps in greater detail – and with images.
Step 1: Type the Prompt
This is really “where the magic happens.” To create an image, simply type /imagine [your desired image] and press enter. Midjourney will create an image based on the words you submit. For example, if you type “futuristic cityscape,” you’ll get something similar to the first image below.
Midjourney has a fairly large aesthetic vocabulary and so you can also include descriptive words like photorealistic, ukiyo-e style, or in style of Mondrian. This link has a number of interesting aesthetics to try out.
This process of choosing the words to include is called prompt engineering and while you can get very specific, it’s not an exact science. Indeed, there are lengthy guides on choosing which words to include, how to emphasize certain words and de-emphasize others, and so on.
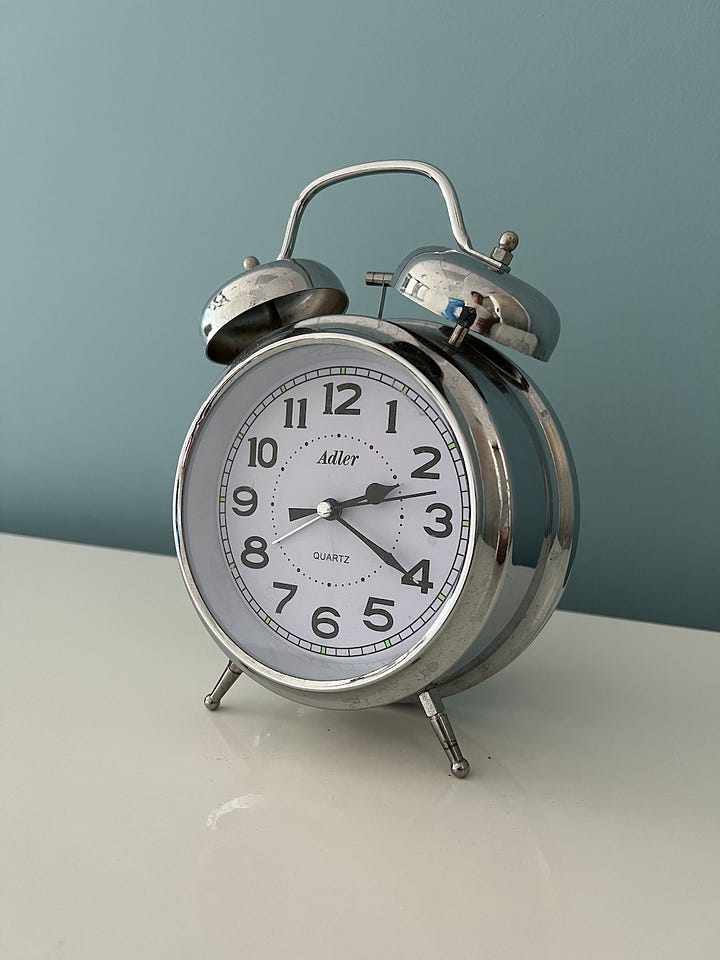
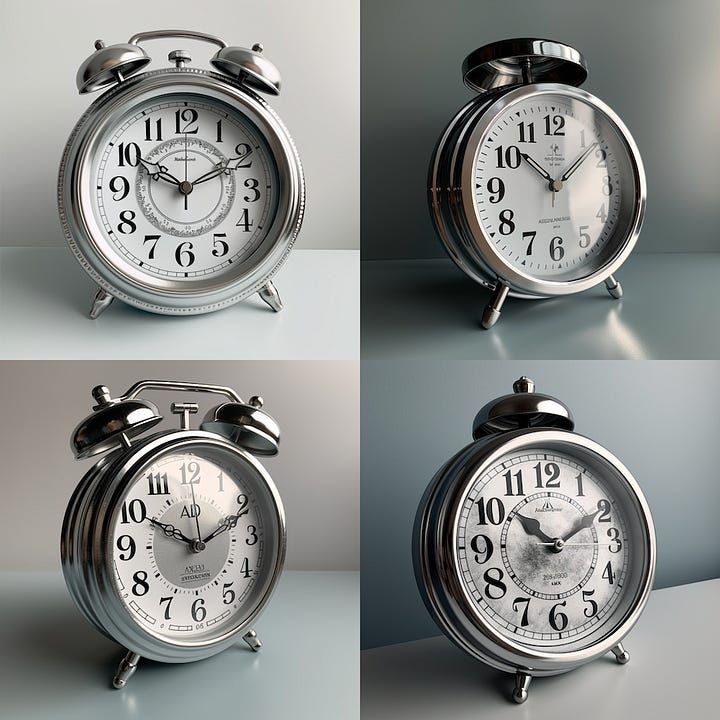
It’s also worth mentioning that you can use an actual image as a source in the prompt. In other words, you can take an image or photo and then generate variations of that image using Midjourney. Personally, I find this to be one of the most interesting use-cases of the app.
Step 2: Wait for the Image to Be Created
Once you submit the prompt, you have to wait for the image to be created. How long this takes depends on your plan and your settings. You can enable Turbo Mode, which generates images more quickly (in ±10 seconds) but uses more computing power. This lowers the amount of images you can create for that month. Relax Mode takes longer but uses less computing power.
Step 3: Receive 4 Images and Redo, Make Variations, or Upscale
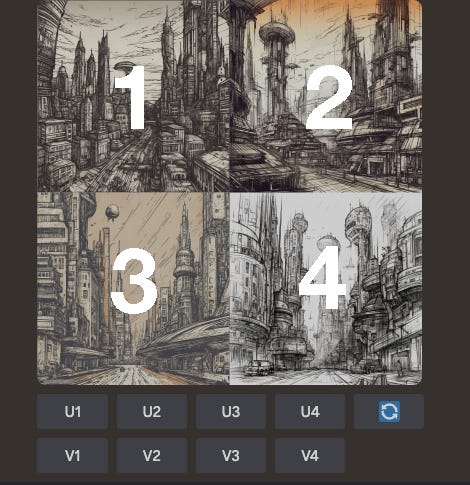
Once the image creation process is complete, you’ll see a single image with 4 squares. Below, I’ve shown 4 examples (with 4 images in each one) of how the prompt “futuristic cityscape” can be modified with adjectives to create unique images.
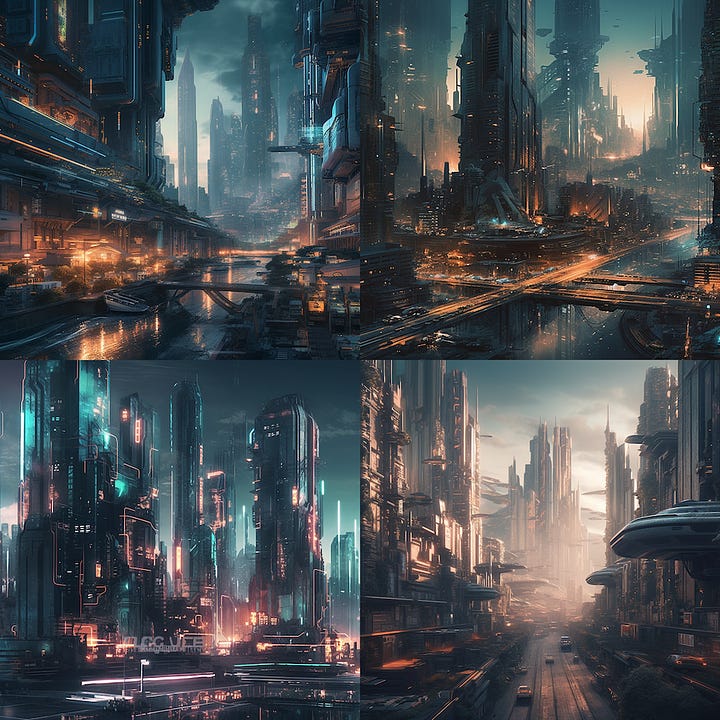
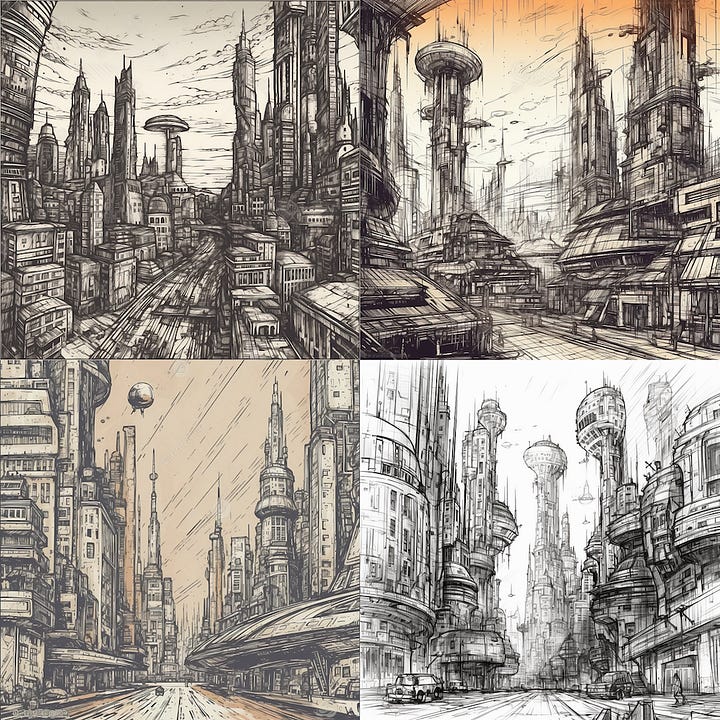
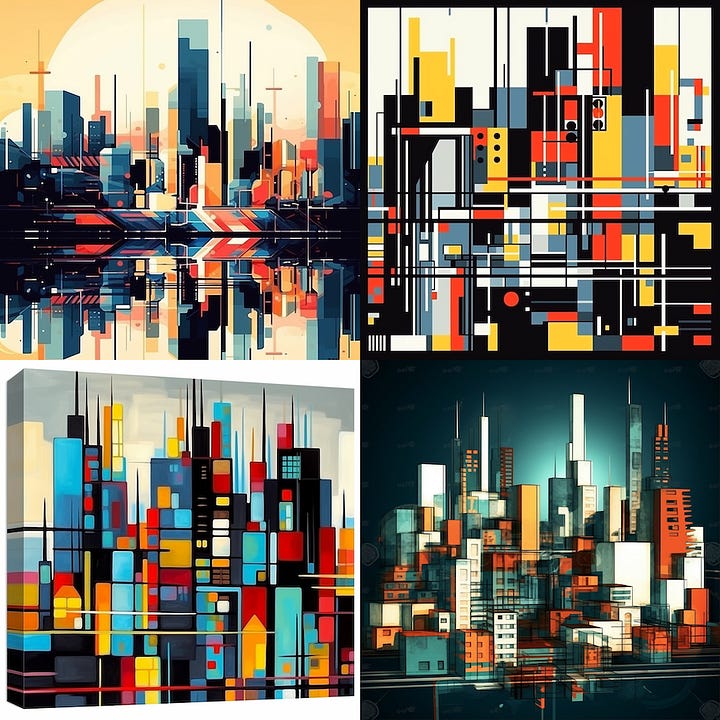
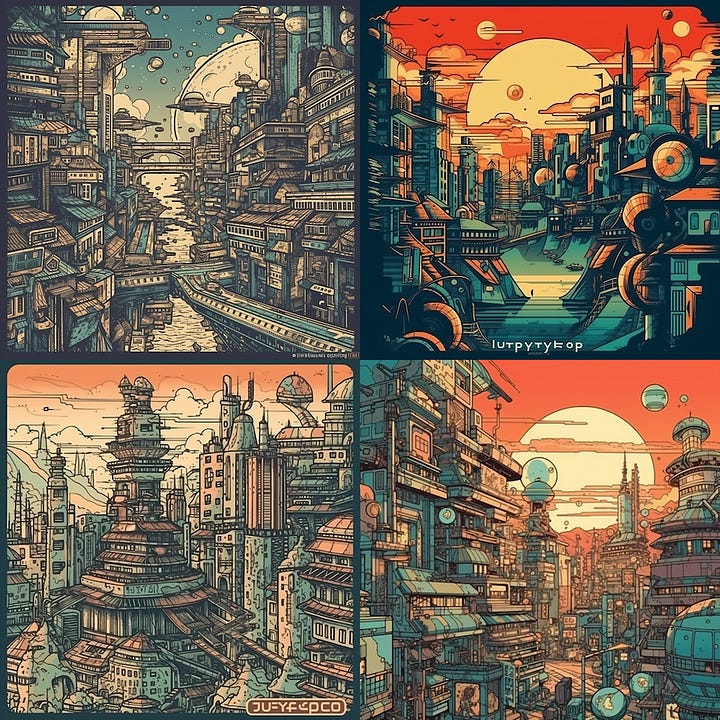
Even though the image file is itself a single image, it’s actually 4 different images, which are numbered left to right. The numbers below the image correspond to this:
What do U, V, and the Recycle icon mean?
U stands for Upscale. If you click U1, the image marked with 1 will be made larger and more detailed
V stands for Variation. If you click V2, variations of the image marked with 2 will be created
The recycle icon redos the original prompt
…and that’s pretty much it! There are a ton of other little settings and Midjourney is continually adding more features to the app, but in essence, the process is still the same: type your prompt into Discord and see what happens. If you like the image, you can save it. If you don’t, you can make adjustments and try again.
The Flow State of Image Creation
For the most part, the image creation process is a game of trial-and-error, where you create an image, see the results, modify your prompt, and try again until you get one that you like, and finally upscale it.
After you get the hang of it, this becomes quite natural and you’ll intuitively disregard the vast majority of the images you create. I suppose this makes it similar to taking hundreds of photos using a digital camera but only using a few – and the opposite of taking a few well-planned photos with a film-limited traditional film camera.
“Let’s see what happens” is thus the defining question in your mind when creating AI art with Midjourney. This makes it akin to a game, where you are always curious what will appear next.
Further Reading + Watching
There are a ton of tutorials online for Midjourney and other AI image creators. While they are helpful, I do recommend trying out the app yourself before worrying too much about the specifics.
YouTube has a few hundred tutorials on using Midjourney. They are all basically the same, so pick one that seems appealing. Just be sure that it’s from the last six months or so, as Midjourney frequently updates the app.

